How to Remove Scratches with Polish in Cozy Game Restoration
Scratches are the last layer and the slowest: where polish goes, why slow passes beat fast scrubbing, and how the UV torch finds the marks you keep missing.
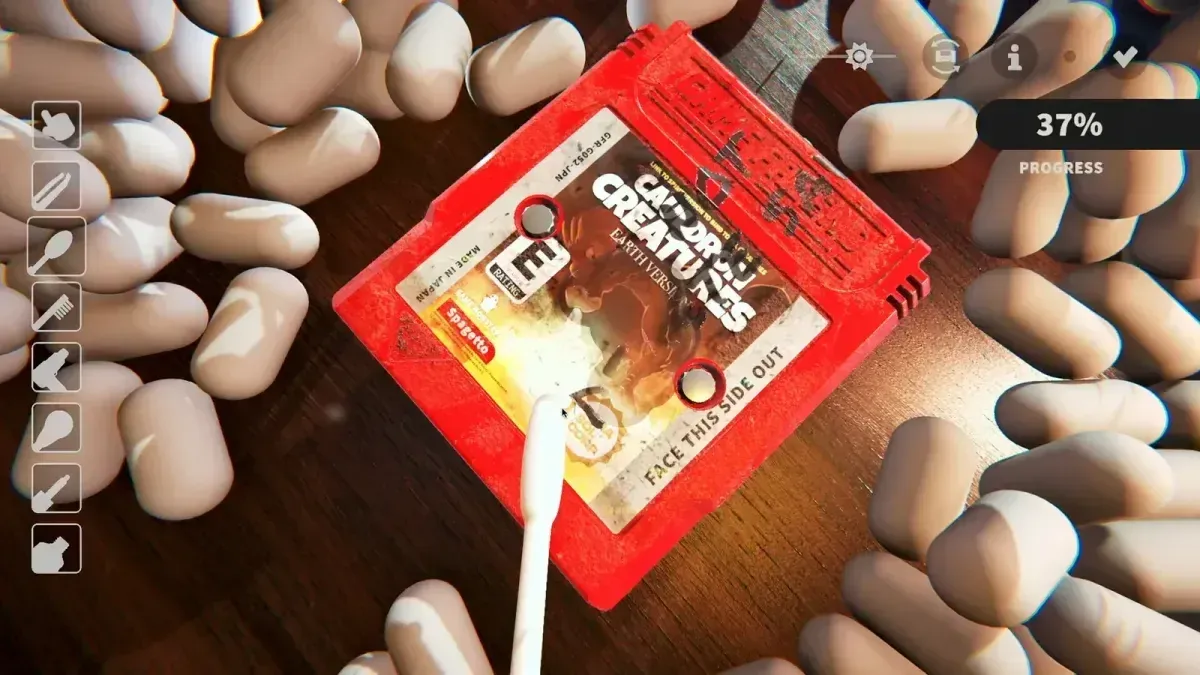
Which tool removes scratches?
Polish. It is the only tool in the bar that affects the scratch layer, and it behaves differently from every other tool: the marks are in the surface rather than on it, so nothing dissolves and nothing lifts.
If you are polishing a cartridge that still has dust, ink or sticker residue on it, stop. Polish works on a clean surface, and working it over loose grime just pushes the grime around while the scratch bar sits still.
Why is the scratch bar so slow?
Because it is measured by coverage across a surface that is full of curves, and because the marks themselves are often faint. A scratch that reads clearly under the UV torch can be nearly invisible in normal light, and one that is barely visible still counts against the bar.
Two things make it worse:
- Discs. Scratches on disc-based games are weighted heavily in the percentage maths — the demo patches retuned the weighting for CD scratches, so they count for more than the same mark on a cartridge shell.
- Low-opacity scratches. Some scratches are rendered faint enough that they are effectively hidden. Autocomplete at 99% covers the gap, and so do stronger tools once your shelf bonuses are up, since a higher cleaning power is much less likely to leave a residue of unfinished surface behind.
How should I actually polish?
Slow, repeated passes over a small area, and check the bar rather than the surface. Speed does not translate into progress here, and the game rewards coverage over time rather than pressure.
The routine that avoids wasted minutes:
- Finish dust, stickers and ink first, so the polish is not working through a layer of grime.
- Sweep the UV torch to find where the scratches actually are, including the edges and the back.
- Polish one region at a time and watch the bar between passes.
- Move on when the bar stops responding — that region is done or the tool is the limit.
Holding still and scrubbing one visible scratch is the common trap: the bar is measuring the whole cart, so a single deep line will not move it much however long you work it.
Why does the UV torch matter more for scratches than for dirt?
Because dirt announces itself. A dusty cart looks dusty; a scratched one looks fine until the light hits it at the right angle. The torch is the only reliable way to find the patches you have not touched, which is what the glowing trail on untouched dirt is for: sweep the cart, then come back to the missed spots instead of guessing.
Use it as a final check before you finish. If the torch shows a mark and the bar is short, you have found the reason the cartridge is stuck at 98%.
Do I need 100%?
No, and on a scratched-up cart it is usually not worth it. A cartridge finishes with the bars wherever they stand and takes a grade from them, so the last few points are bought with time rather than unlocked as permission. On a heavily scratched Regular cart that time costs more than the grade adds.
The case for pushing to 100% is a high-rarity cart, a platform you need on the shelf, or a specific quest. The economics are on money and selling, and the shelf-side reason tools get stronger is on rarity and shelf bonuses.
If one cartridge refuses to finish no matter what, it may not be your technique: the Galaxis 16 shells have the deepest grooves in the game, and one specific cart is a known sticking point — see Toro the Cat 2 stuck near 100%. The full layer order is on damage types.
Related Articles
guides
Autocomplete Not Working at 99 Percent in Cozy Game Restoration
Autocomplete fires only when every layer passes 99 percent, so one bar at 98 keeps the cartridge open. How to find the layer that is holding it back.
guides
Adhesive Not Spawning on Discs: Cozy Game Restoration Bug
Disc cartridges could refuse to spawn sticker adhesive, leaving the ink bar unfillable. Fixed in Patch 1 and live again since 7 November.
guides
Packing Peanuts and the Bin in Cozy Game Restoration
The bin eats peanuts and stickers, peanuts are worth a little money, and the tweezers keep grabbing them by accident. What the desk clutter is for.
Was this helpful?
Thanks for the feedback!