Cozy Game Restoration Restoration Workflow, Step by Step
The full Cozy Game Restoration cleaning workflow: unwrap, inspect with the UV torch, clear layers in order, clean your tools, shelve the cart.
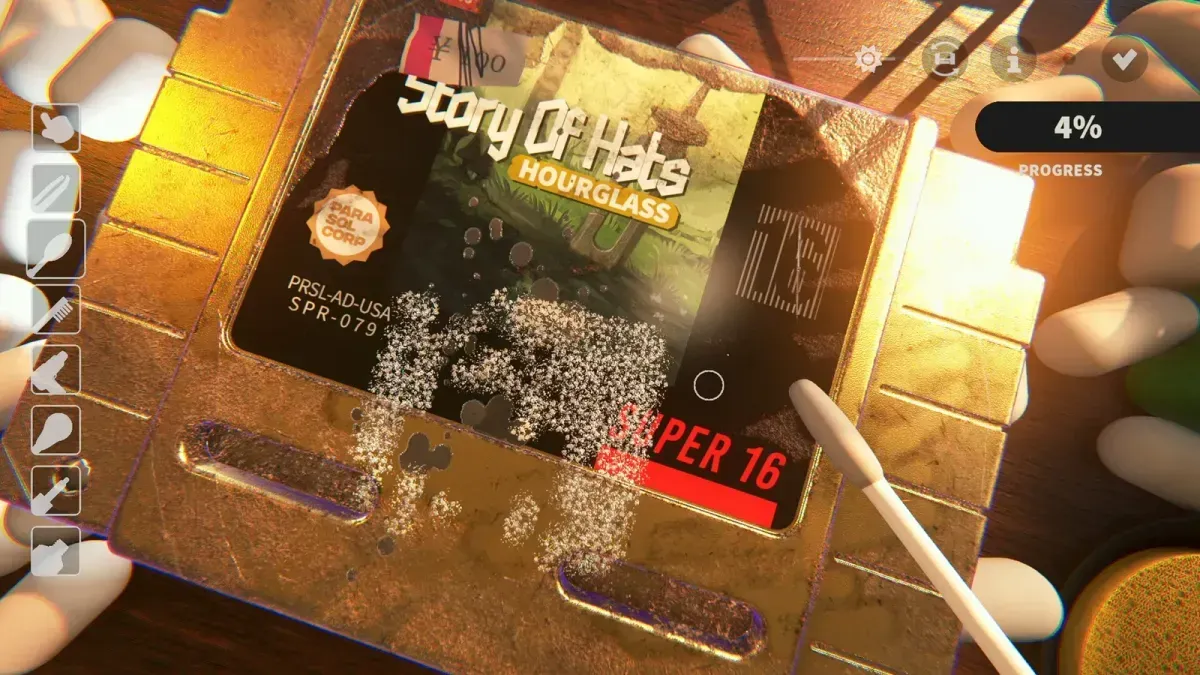
What is the actual order of work?
One cartridge, six phases. Skip a phase and you either miss dirt or wreck the label, so treat this as the checklist:
- Unwrap the parcel and inspect the cart.
- Scan with the UV torch.
- Clear loose grime.
- Work the stains.
- Lift anything stuck (stickers, tape, residue).
- Shelve the cart and check the quests it advanced.
The damage types page explains what each layer looks like; this page is about the order you attack them in.
Phase 1: Unwrap and inspect
Parcels are sealed with tape and wrapped in paper, and the wrapping is part of the job — peel it, don’t rip through it. Once the cart is out, rotate it before you touch a tool: the store description is explicit that condition is randomised, so a clean label with a cracked shell is a normal find, not a bug.
Note the shell colour and any visible damage first. A gold shell is a rarity signal worth knowing before you start scraping near the label edge.
Phase 2: Scan with the UV torch
The UV torch is the inspection tool. It highlights grime and now leaves a glowing trail on dirt, so a full sweep tells you where the missed patches are and lets you come back with the right tool instead of hunting by eye.
While the torch is on, the dirt and ink stats are displayed, which turns “does this look clean?” into a number. Use that: finish a layer when the stat agrees, not when the cartridge looks shiny at your current camera angle.
Phase 3: Clear the loose layer
Dust is the cheapest layer to remove and the one that makes the next layers readable. Do the flat surfaces and the label edges first, then the seams and the ridges.
Ridges matter more than they look. The developer moved one epic cartridge from PAL to NTSC precisely because PAL shell ridges are hard to reach with the demo’s tool strength — the shell shape changes how much of your cleaning power actually lands on the dirt.
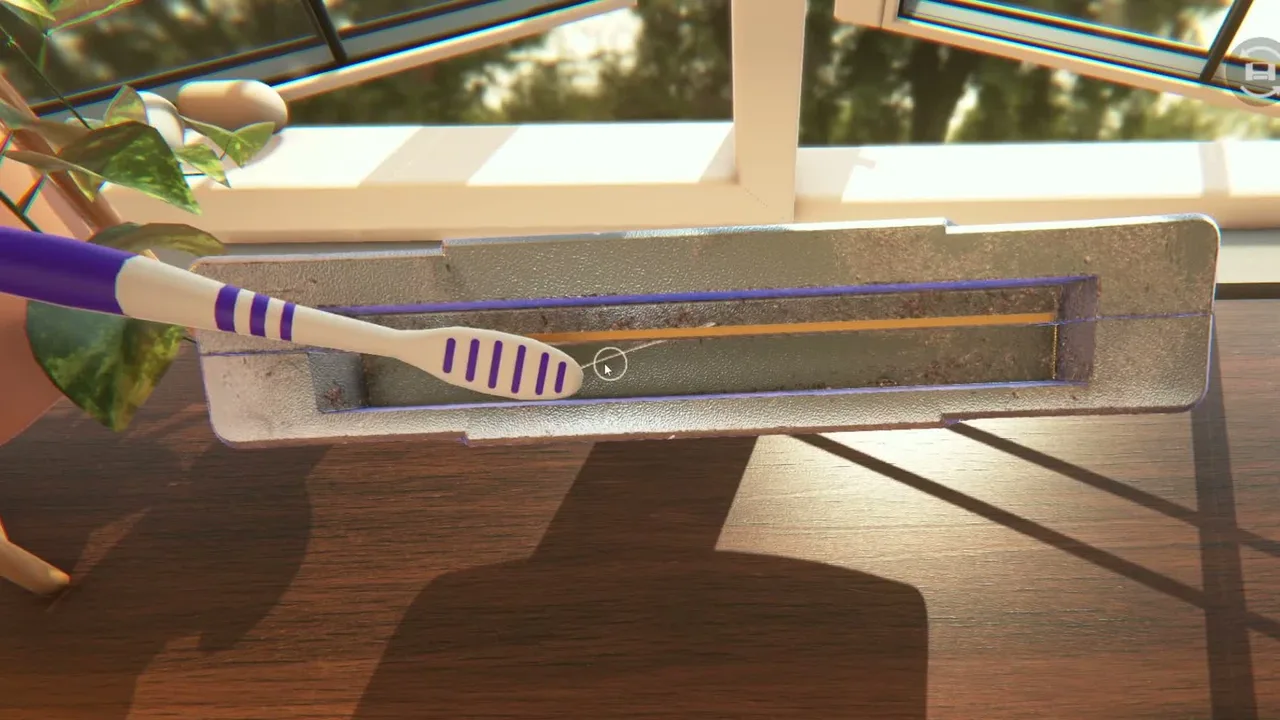
Shell edges and ridges hold grime a flat tool cannot reach. Official game imagery © Parasol Corp.
Phase 4: Work the stains
Ink and discoloration need the tool that matches them, and they respond to coverage rather than brute force. Sweep the whole stained area rather than grinding one spot, because surfaces smear as you work — a stain you push around is a stain you have to chase.
If a stain refuses to move, check the tool state before assuming the layer is out of reach. A dirty tool is the most common reason a cartridge “stops cleaning”.
Phase 5: Lift what is stuck
Stickers, tape and adhesive residue are physical objects, not stains. Heat first: the hair dryer softens sticker adhesive so the sticker lifts instead of tearing and leaving residue behind. The box tape rework replaced the earlier tweezer system, so expect tape to behave like wrapping paper rather than a rigid strip.
Scratches are the last layer and the least forgiving. They sit in the surface, so over-working a scratch area can make it read worse. Slow passes, and stop when the layer stat is done.
Phase 6: Finish and shelve
The finish screen collapses the named layers into four bars — Dirt, Stickers, Ink & Adhesive, Scratches — and stamps a letter grade next to them. That is the game’s own definition of what you cleaned, so treat a low bar there as a to-do list rather than a score.
You do not have to hunt the last pixels. Autocomplete kicks in when all layers are at 99% or higher and clears the remainder; it can be disabled in Accessibility if you prefer to finish manually. Either way, the cartridge is done when the layer stats are done, not when it looks perfect under one light.
Then shelve it. Games on the shelf influence the cleaning power and properties of your tools, and the shelf system feeds tools, economy and discounts, so the order you display carts in is a real decision. See collection room for how the room’s layout and genre grouping affect that.
Where does tool cleaning fit?
Between cartridges, and sometimes mid-cartridge. Tools lose effectiveness as they load up with grime; cleaning them restores the cutting power. The rhythm that works: clean tools at the start of a session, mid-way through a heavily soiled cart, and before you start a rare find.
The tool list, toggles and hotkeys are on the cleaning tools page.
Related Articles
guides
Cozy Game Restoration Beginner Guide: First Hour
How the Cozy Game Restoration loop works, in order: unwrap parcels, read the grime layers, clean them off, shelf the cart, finish quests.
guides
Cozy Game Restoration Cleaning Tools and Hotkeys
The tools confirmed in Cozy Game Restoration: UV torch, hair dryer and the cleaning tools that need cleaning, plus hotkeys and toggle settings.
guides
Cozy Game Restoration Collection Room and Shelf Bonuses
How the Cozy Game Restoration collection room works: furniture placement, quest decorations, and shelf bonuses that change tool power and discounts.
Was this helpful?
Thanks for the feedback!